Projects
Puppy Quilt
After finishing the last quilt I had some extra material and I wasn’t sure as to what to do with it all. My dog ended up having a puppy and normally I make the pups a crocheted blanket to go home with. Helps with them going to a new home plus I get some practice and use up some spare yarn. Then it hit me, since there was one, why not make a little quilt for her? I could use up the extra material plus try some new things.
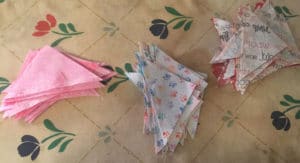
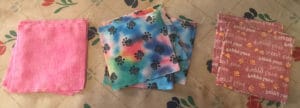
My daughter decided to help so I let her go through and pick some material out. This is what she came up with:
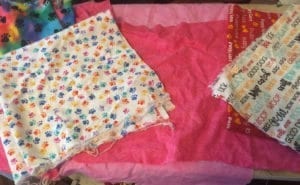
We then cut the pieces into three 5″ blocks each.
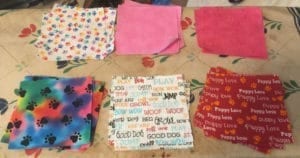
After the pieces where cut we then took two pieces of material (one from top and one from bottom) and sewn them face side together so now we have three stacks of blocks.
Next we took each block and cut them making an “X” so there was four pieces per block.
We then took the small blocks and sewn them together doing two across and two down.

We then put them down so that we can come up with the pattern that we wanted to use. I suggested one way and Maddy suggested another, but in the end we worked together and liked one.
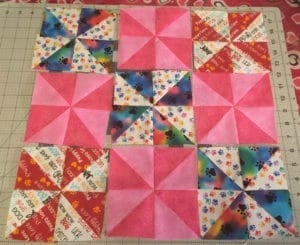
(I know this is a lot but it comes out really nice!)
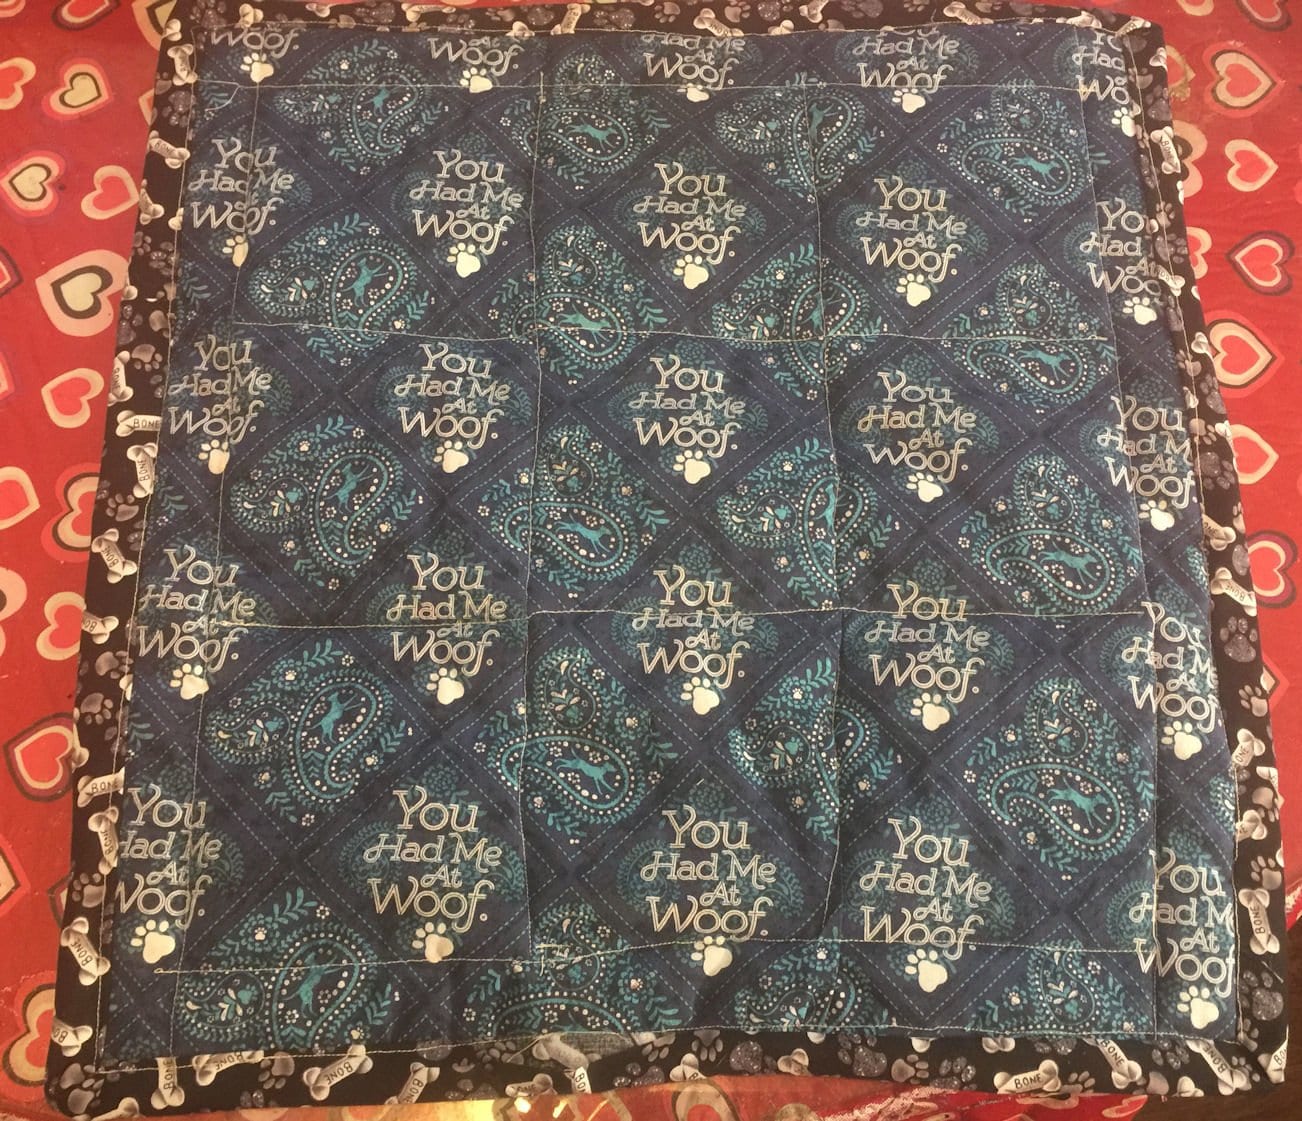
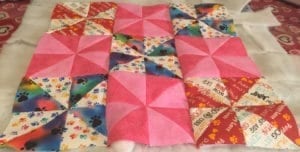
Next we sewed three strips of three blocks each. From there I laid down one strip and pinned it to the batting and also the back piece then sewn on. I did this for each strip connecting it like you normally do for each strip.
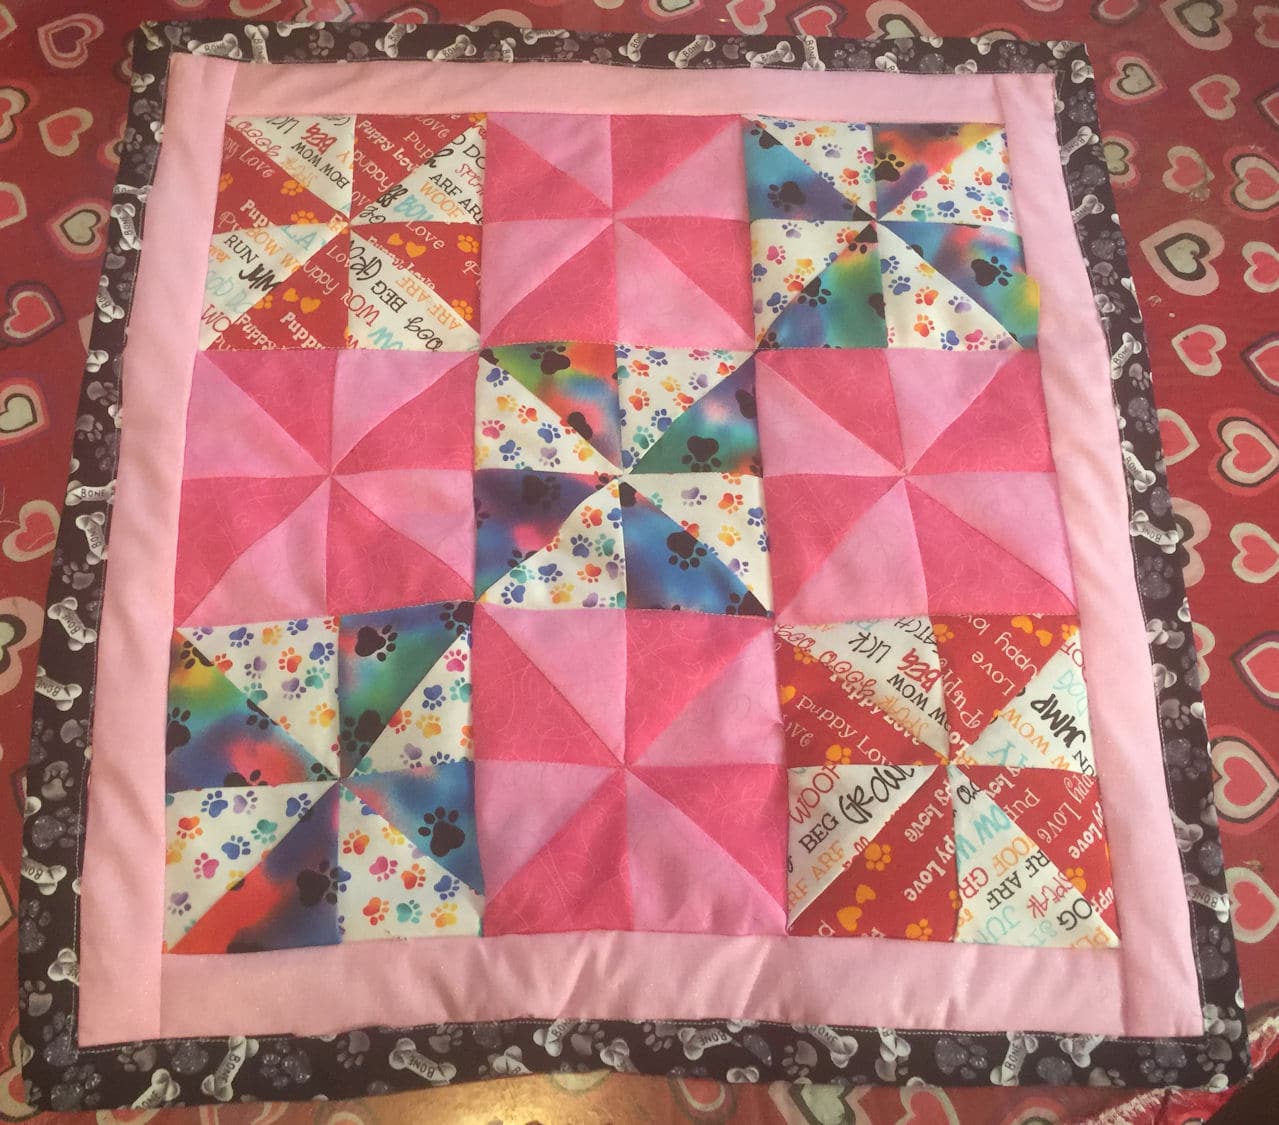
There was some extra room and I really hated to for the material to go to waste so Maddy and I agreed that we would put a border around it. Off she went to look and came back with some pink (I thought that was a good idea). The border was again added the same to the top, batting, and back piece and then trimmed up.
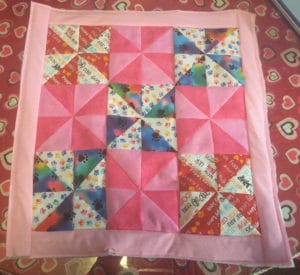
We then added the binding and it was complete!
Came out better then I thought however, I did learn one lesson, it’s easier for smaller quits (at the moment) but I should always use a darker thread sometimes.
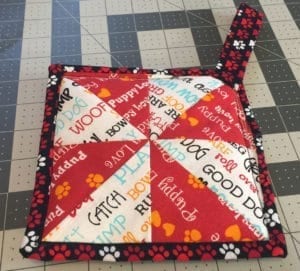
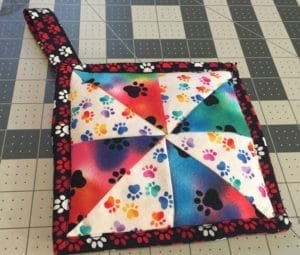
We did have a few squares left over so we made pot holders. 😉


