


In Progress, WIP Wednesday
Puppy Quilt – Part 3
Before I had taken the quilt off the bed last time I had measured it across, up and down, this side and the next to make sure I had all the measurements I needed. I then quickly realized it’s probably not going to be as big as I had thought but the only thing I could do is continue on.
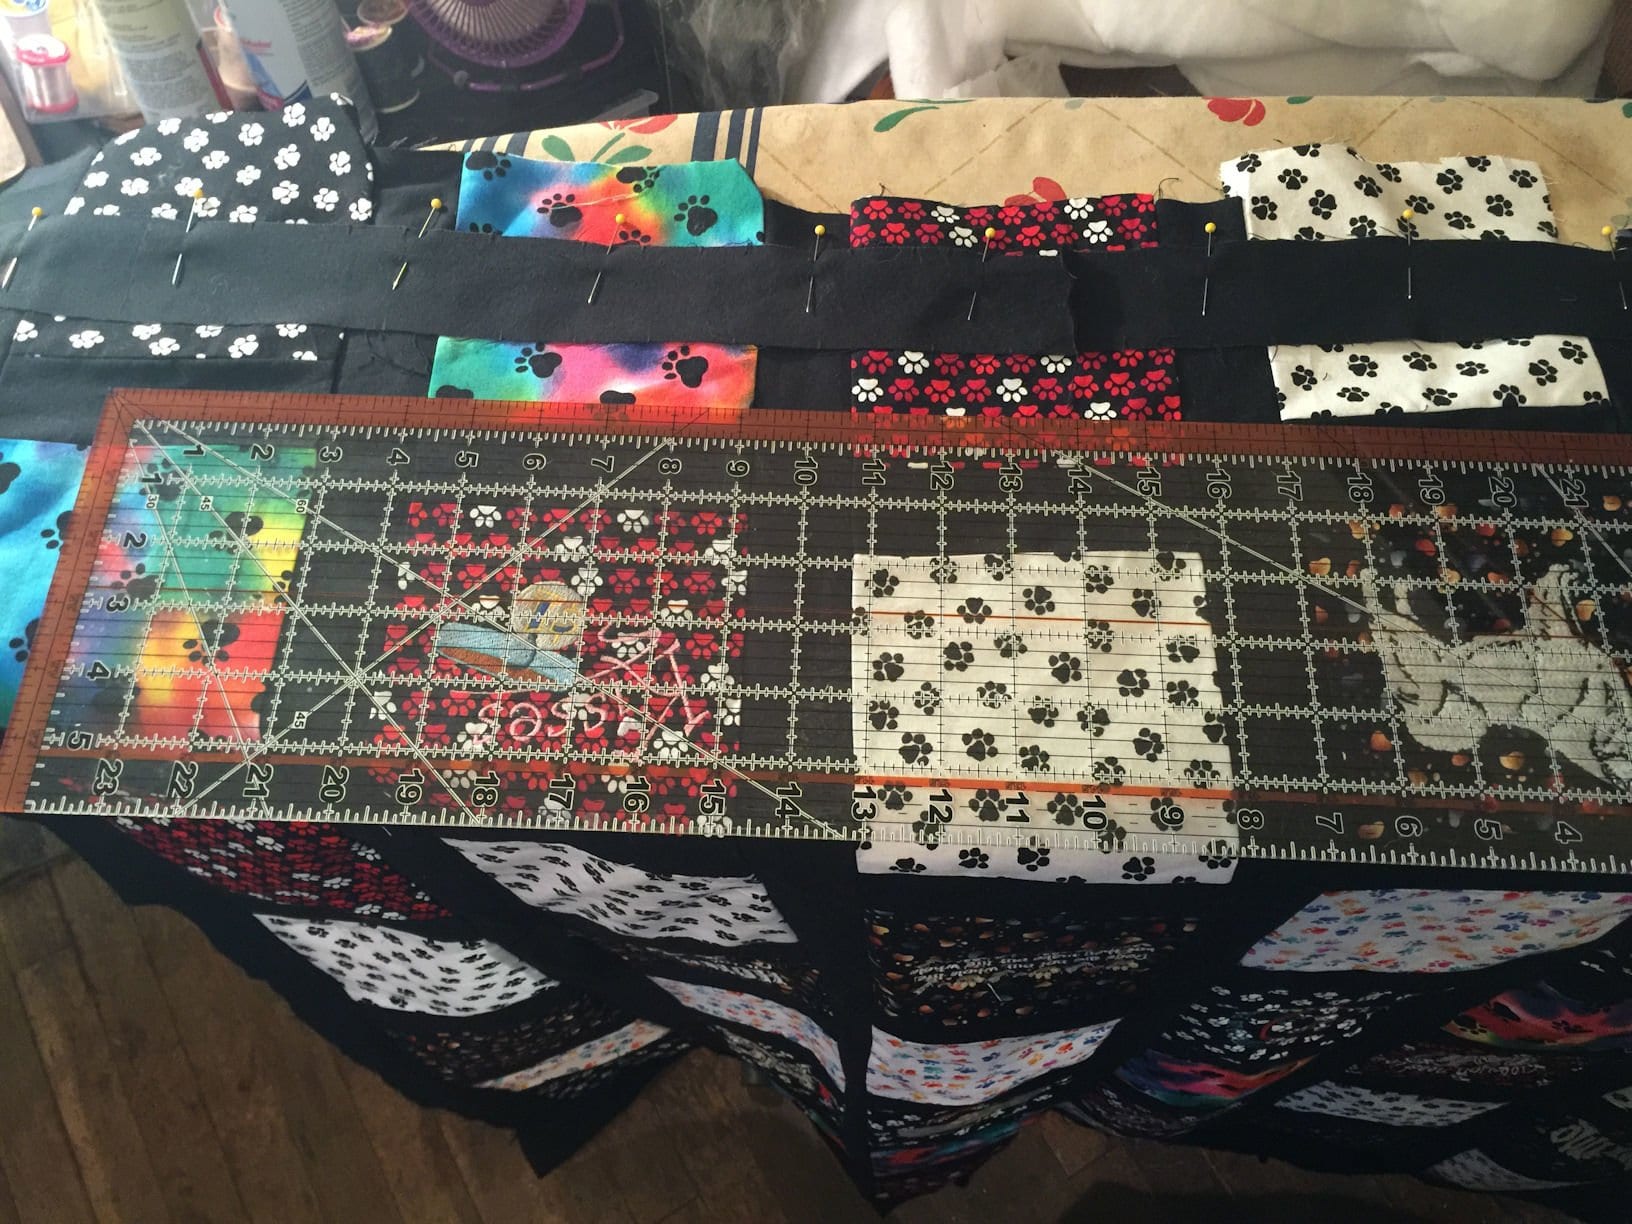
I then began cutting my strips on the ScanNCut for the ones that were short. Once that was completed I sewed them on and then sewed the blocks together in strips.
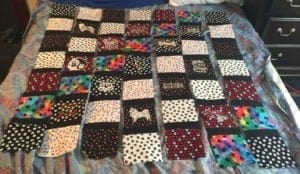
Once that was done I took a quick measurement or two and began cutting the longer strips. Now again I used the ScanNCut so I had to make two strips as long as I could and then make one strip shorter. I did this eight times. Then I sewed them together and placing the shorter one in the middle. Once completed I then sewed all the strips together.
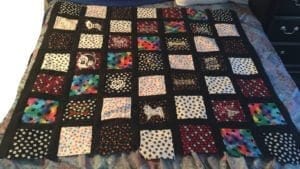
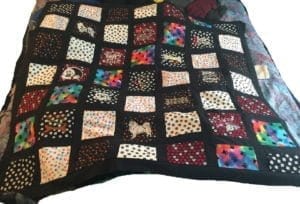
Oh dear! The bottom did not come out very good. I then began trying to figure out what exactly happened. Checked my measurements and all strips and blocks are the same. What could it be? The only thing I can figure is that there was something either with my tension or my pressure foot.
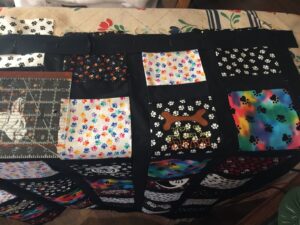
So now I need to figure out how to fix it or blend it in so that I can get the bottom to look nice. After much figuring I decided to blend it in and just let it be. Besides, I’m the artist right?
So now I need to “sandwich” the top, batting, and the back panel and then I can start doing the quilting.
Back to the machine!